Wednesday 13 August 2014

FMP - UDK - Natural Homes - Wizard House - Fly-through and Final Conclusion

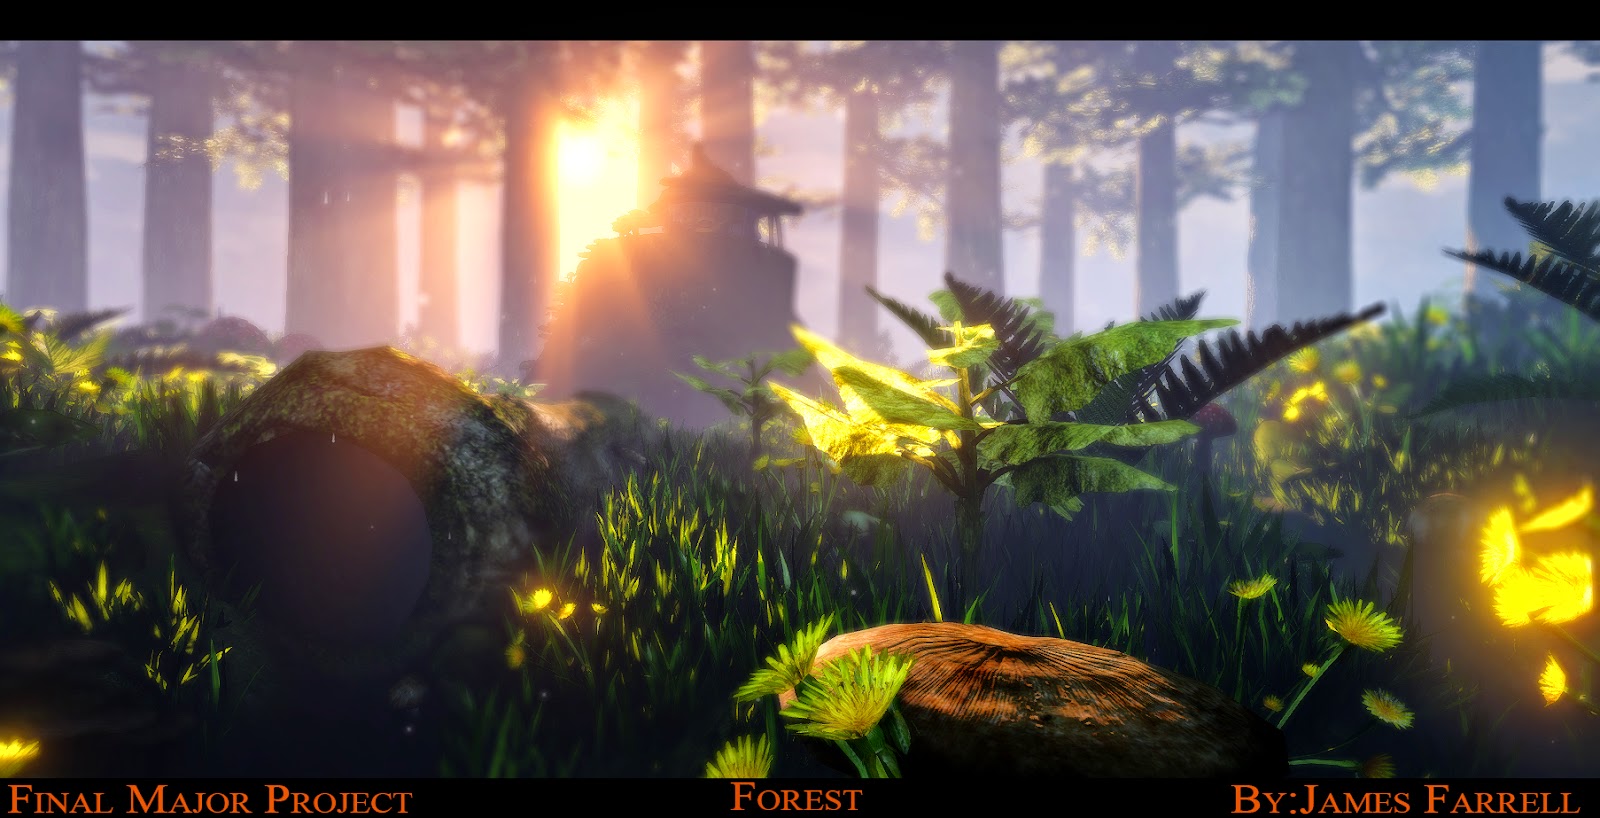
Well here it is, my Fly-Through and my Conclusion of my Final Major Project!


I manage to get sort out that problem I had with my building, going blurry and having that lod effect.  However after I did all my final renders and video capture. I retook the video again but still it doesn't seem to work when recording, although at least I have them working in the editor.

Back of the house
Left side of the house
Front of the house
Right side of the house

Conclusion

I'm very pleased. with how the building turned out and my level. With all my personal interests and understanding, symbols & meanings and the overall design of my Natural Homes Fantasy Wizard Building, I'm happy that I finally achieve something in it's caliber and the theme of what Natural Homes are all about. I've improved so much from my second year, summer project which I made a Natural Homes/ Building hand-painted camp scene and knowing hardly anything of what I know now to manifest and bring to life my Final Major Project.

It was a massive struggle for myself, to learn, understand and obtain the skills that was needed to create this. I've learnt and picked up Z Brush and UDK, improved my sculpturing, modeling skills and efficiency in 3D max and understanding the pipeline process in baking and texturing and overall improve my drawing, painting and concepting. I had massive obstacles and challenges in all multidimensional aspects, that I went through, which was 'a living hell' but it was all necessary for myself to over come them, learn, grow and breakthrough the darkness and into the light!

I've learn't a hell of a lot of the UDK engine. Such knowledge like adding water with effects like ripples and blurriness when your in it, skybox, editing, special effects such as rain, pollen, sound and lightning and many other tweaks and improvements through the properties. I've understood alot about the Kismet and the Timeline feature, specially when doing effects such as lightning(flashes) & thunder(sound). I have also gained a deeper understanding when creating my fly-through, setting up my cameras which I had about seven of them and then tweaking the options for extra special affect when recording my level and then connecting everything together making sure they are all recorded properly.

With myself struggling of commitment, focus and time management at times which I have definitely learn't from at the end of it all. I realize that I haven't fully 100% completed my 'grand-vision' of my level and proposal. However I have made great leaps in progression to acquire the right body of knowledge and skills to keep on achieving to eventually manifest everything in my minds-eye!

But for that, I shall leave this as it is, move on and take forward all my lessons!

Thanks you :) 


I had a few more GIFS but it was slowing down the page, hopefully one is fine :)

Thursday 7 August 2014

FMP - UDK - Natural Homes - Wizard House - Final Renders

My final texture of my building in max.

Due to time restraints, I could not achieve a fantastic quality of texturing for the building. 
I will go back and spend more time to complete it. After the hand-in. 


Here are my Final Screen Shots of my Forest Level, that has been redone, updated and the addition of the new Wizard House building.

For some odd reason my building, is really blurry and it has the LoD effect to it but still remains very blurry and low in detail. I have imported it as ASE, FBX and made sure it is all good in Max, it is still the same. ;/
So apology of no real close-up shots, as it doesn't look good.


Sunday 3 August 2014

FMP - Natural Homes - Wizard House - Texturing

 Starting on texturing and after successful bakes, I thought to show my desire results on my model. 
Ambient Occlusion and Normal Map 


 as you can see they turned out really good. Still I will optimized it in Photoshop but it's a great base to start painting and texturing on top.

Only few little save out I had, of some stages of texturing.


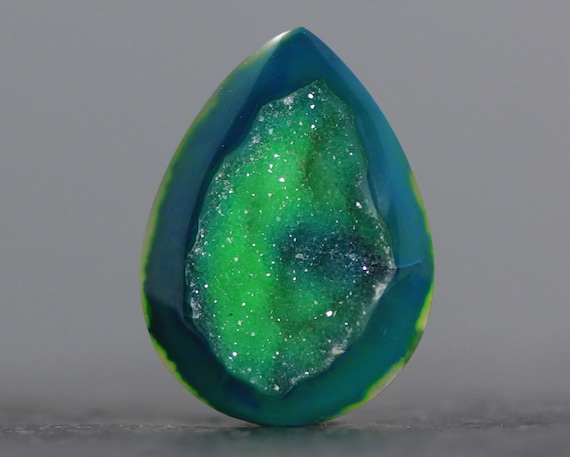
I have started to texture the rocks around the wall. I thought to go with some majestic colors like from what you get with crystals such like the reference beneath. Which will hopefully give me the result of the sparkling rocks.


Trying to get the back of the house looking much more convincing and intertwine the colors where they meet, in the middle of the duality moons. I wanted to keep it quite quirky and saturated sparkles, to get it look like the rocks


Very beautiful colors, that really are harmonious with each other. Get that sense of magic and cosmic-ness from it, which hopefully suit my building.


Here is where I was adding some cracks, grunge and other natural wear and tear to the building, through the diffuse texture. With the natural look, hopefully give it that believe-ability.


Just testing, colors for the front of the building, just see how a mixture of a brown, red and yellowish color blend in well. As natural wear and tear over time, of all it's composite paint would of bleed into one another due to weathering, dirt and grunge  forming a new look to it. I'm more so looking to use colors base from the Sun Symbol in the middle, as I will paint in the symbols and signs different to the base color.


Here is where I  was deciding when texturing to have the hand-palm in a nice golden color, which it would of been made of gold. The key and the time & space symbol also.

By doing some quick research about Gold. It is interesting to find out in short that; Gold cannot rust. As the term 'rust' is specifically iron oxide. So Gold is highly unreactive metal in it's pure form. i.e (24 Karat). However the additives used in jewelry may facilitate minor reactions leading to 'tarnished' or otherwise 'rust-like' appearance.

So by this, there will still be some slight weathered and tarnished look to it, to fit the building weathering..


Testing out how the texture was looking for the thatch roofing. I decided not to use Zbrush sculpted information via baking. However I made a seamless texture and tiled the roof. Felt it was much more efficient and  I can then use other textures and split into many other 1024x1024 texture.


I was having a major bug where, if I load in the PSD file, it would error and crash. I fixed it by resetting the texture paths.

Tuesday 29 July 2014

FMP - Natural Homes Retypologing

 Just like to note that I lost all my old max saves. From the early white boxing of the house and other model of concepting. My hard-drive failed which was 'bs' and can't show anything previous in max.

These are my finish result of retypologing  the Wizard House High_Poly. 


My first attempt, was ridiculously higher in tri's because I went and captured alot of the house which I realize  was a mistake.

So I redone it and end up with this result. I realize  next time, I can save even more tri's because I understand a good deal on how powerful normal mapping is and with simple geometry can capture alot of the sculpt / detail.

However I put quite a bit of typology at places because I wanted that extrusion and real geometry because when sculpting the building I had that in mind.


Images of the retopologize Wizard House.


I did decide to sculpt the roof of the Wizard House which would be made of 'thatch material'


The end result of the Wizard House Roof, retopologize.


 We have two structures here. One on the right is for the roof on the left which will hold the front roof of the house.


Within the retypologing process, I tested out the normal mapping and baking. 
On the left is the retypologing model and on the left is just a simple cylinder that both had been unwrapped and baked for a test, for myself to understand how powerful normal maps are and how much can you get away with a flat surface and less geometry

I decided to put them in UDK for further testing, understanding and comparison.


Retypo Left and Cylinder Right


The retypo version is obviously the winner, but the others one, isn't to bad on some parts.