Monday, 17 March 2014

FMP- Tree and Branches

 I am deciding what outer trees to model for my level.

 I prefer to keep it simple but effective, because the important organic assets would be in the focus within the level.


So I am going to aim for creating those tall straight trees to give a enormous scope of the player and the terrain.


I decided to create a simple base mesh in Max and import it into Zbrush to sculpt from.

 However, a friend suggested a better way which is to use the Zspheres in Zbrush to create your tree and the branches.

I remember using Zspeheres before and it was good to familiarize myself with it again.


An screen capture to demonstrate using Zsphere and how I was creating the branches.
So I was just pulling across and adding spheres to the mesh.


 A variation of branches I created from the result, I didn't spend to long on them, about 10 minutes generation different variation.


I wanted a four branches to give more variation.


My branches with bark detail

 I was using Zremesh on my branches to try to get a reasonable tri count, that would not deform the silhouette of the branch. 


However it was not possible and when it was too low, it would remove some branches and the roundness of the branch would be blocky and squared. I can retypo this manually which would give me better control but I realize a better approach


So I created some simple straight branches, which is much lower in cost of the tri-count and then I can now create a couple of small attachable branches.


Here is the Outer_Tree that will surrounding the perimeter of the forest, combining and attaching the branches, to really give some diverse modular set-up. Then I will add alpha tree leaves to those branches.

Thursday, 13 March 2014

FMP - Landscape test sculpting in UDK

Found a great video to help me with my terrain, have to pause at the right moments, so many Saints Bernards all over the place lol.


I created a terrain floor in UDK. I was confused on the actual resolution size on the floor to which I decided to research to understand this.

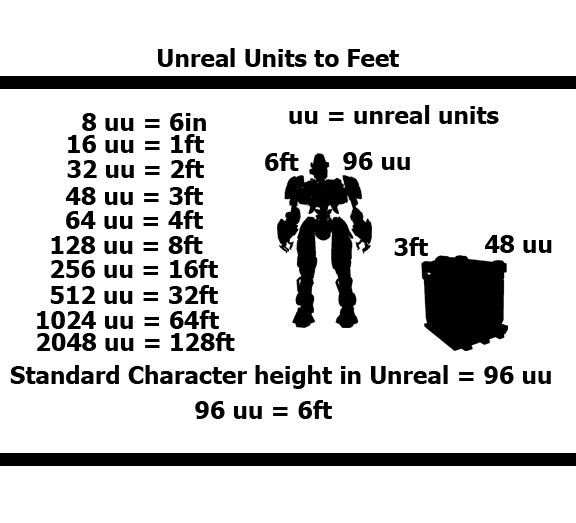
The chart below,  gives an example of the resolution sizes that will enable me to have a clear idea when creating the terrain floor.

Even the lowest resolution 127x127 is equivalent to a city block, however due to my character will be tiny in a small patch of land, I figure that this might be reasonable.
Unreal Units
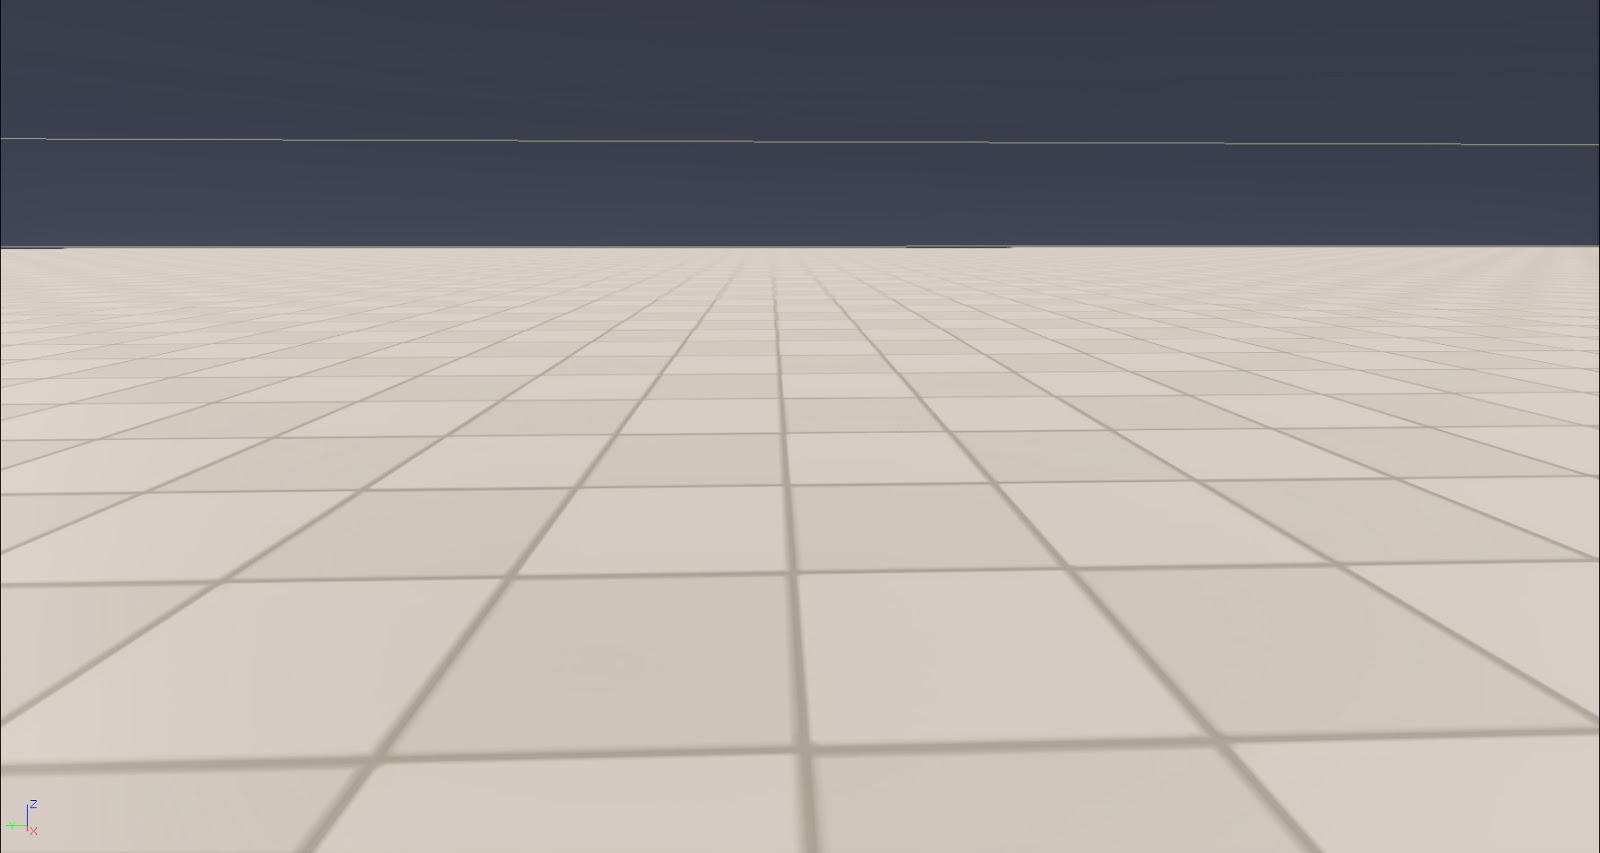
Having gained information regarding the creation of the terrain. I was able to produce the first attempt, as seen below,  which shows where the player begins the game. I was deciding on how to begin the player when he enters the level, to start in a hole/tunnel which then he will have two pathways to choose between.


Placing one part of the tree-stump at a time, enabled me to judged the scale of the stump in relation to the scale and dimensions of  the player and the surroundings.

Here I was trying to convey how some of the area around the base of the tree stump would appear to be raised due to the once exposed roots becoming over grown.


I felt the density of the terrain to be low to sculpt; it needed to have high density and to show how the level of the terrain were uneven due to the natural overgrowth  that has occurred over time both on the tree stump as well the surrounding area.


I was just testing and understanding how I would go about texturing the terrain. I noticed that since my player is really tiny and the surroundings would appear to be goliath in comparison, the 'test grass' base textured place appears to be very blurred due to the low resolution.  


By placing and testing out texturing the terrain really gave me a clear idea of the direction I wanted to go in, when sculpting the terrain. I also would make the player path more distinguishable from  the surrounding by making it obvious by using a dirt trail.


I decided to import in my grass models to check out the scale relationship with the player and how it could look in the level.


Just a green color that assigned on.

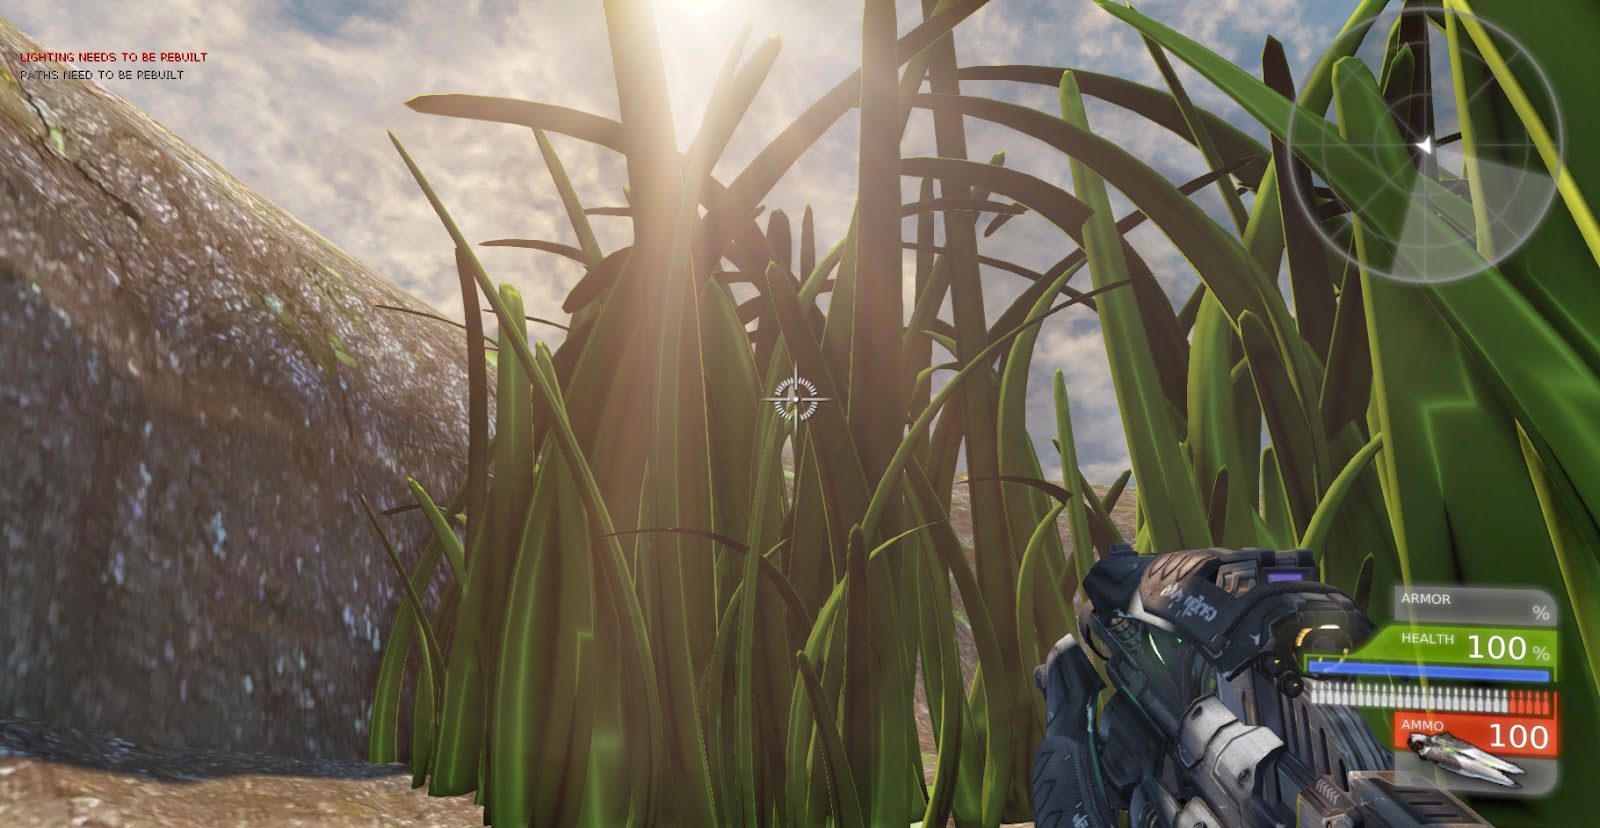
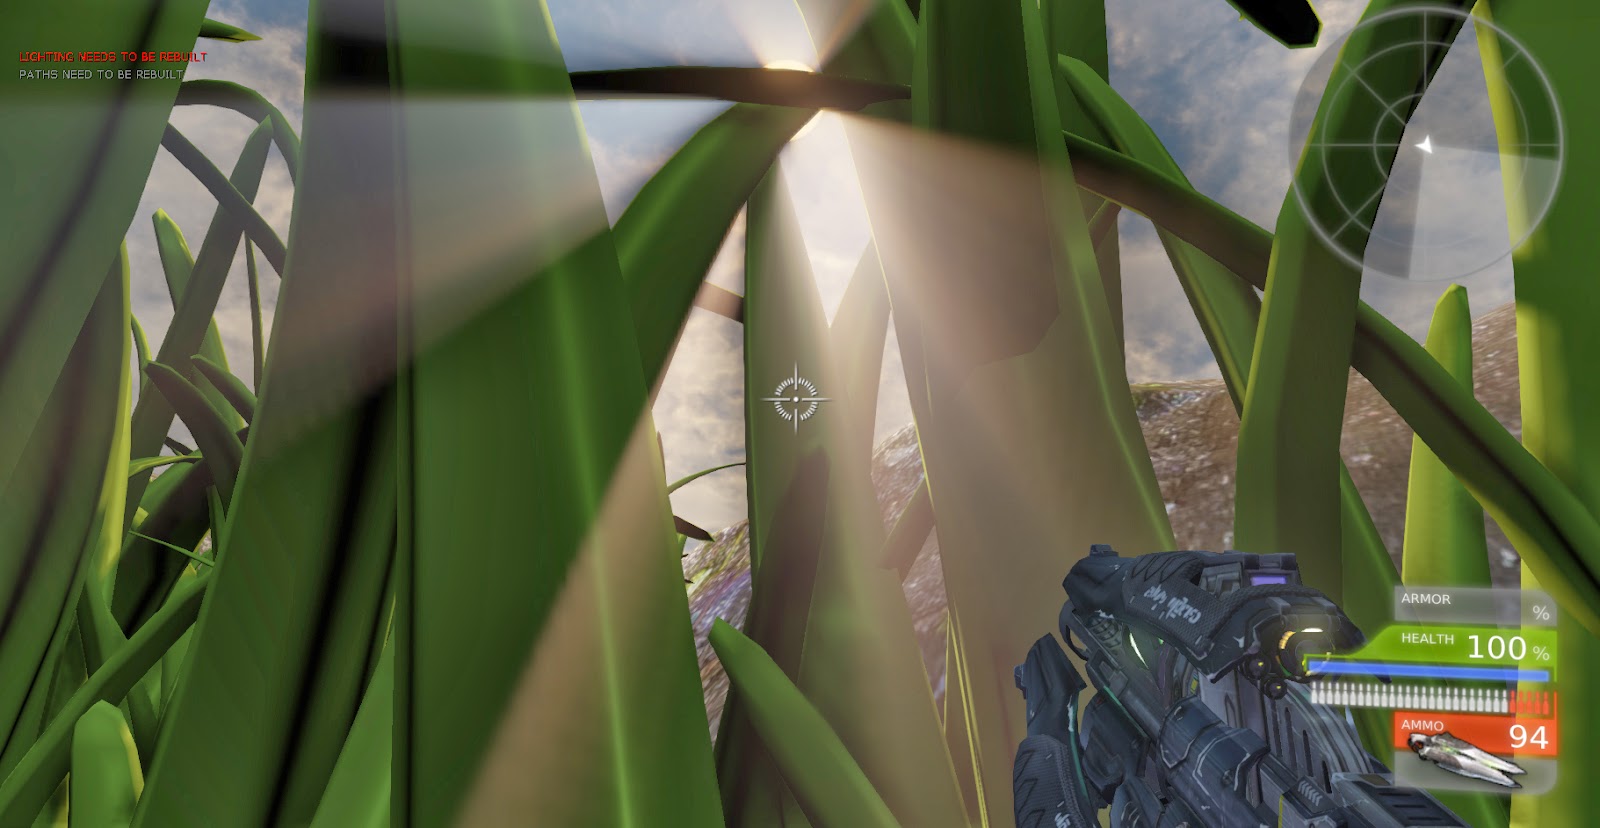
Just a quick snap shot of how the grass could look if the player is walking through it, how it towers above him and how the sun rays bounces and pierces the raw stem.


Just a bunch of the grass and mushroom on how it might appear. The grass would be spread across the terrain with other foliage and assets. I might perhaps, don't put as many on the players path, to make it more clear.


A screen capture of my player traveling to the tree stump, I just really like the atmosphere and size, looks huge.


On top of the tree stump, it was interesting to check on how the player could see across the horizon of the level, so I will have to create 'level of detail' assets beyond the boarder of my level. Perhaps some atmosphere like fog or other effects to help with this.

Tuesday, 11 March 2014

FMP- Foliage working out!

I was thinking what would be the best way to create the foliage, I need for my level. Alphas would definitely be the efficient and best option if it was a normal size person, but since my character is very tiny, I decided to model some grass, hopefully, some thickness and the freedom to arrange/ variation of size the model grass would be a good choice.


I followed part of this grass tutorial, not all because the end result was baking the model grass onto a plane to create an alpha from that. Which I didn't realize until I skipped parts of the video to see where the tutorial was heading. So the images above was at the stage on the tutorial of arranging your grass in different size, angle and bunching which then baking out different maps for texturing.

 It was useful because I learn't a few techniques on modeling the grass and other processes. 


The grass how they look for now. The original is the far right, then I decided to thinner the blades of grass, after testing them out in UDK they seemed to wide and then arrange into a small bunch.


It seemed to work well with the grass and it didn't cost to much with the tri's. I wanted to create more foliage and the ferns was next on my choice. I decided to give modeling them ago, however the tri's was ridiculous and so I am deciding that, It would be wise to model the actual stem and alpha the leaves, specially the ones above the player because they won't be seeing and hopefully still give the illusion of the thickness.


Just some quick sticks, I made. I didn't bother sculpting the normal, just created a diffuse texture and got my normal from that. Though I definitely redoing them.


Monday, 10 March 2014

FMP - Zbrush Mushroom sculpting

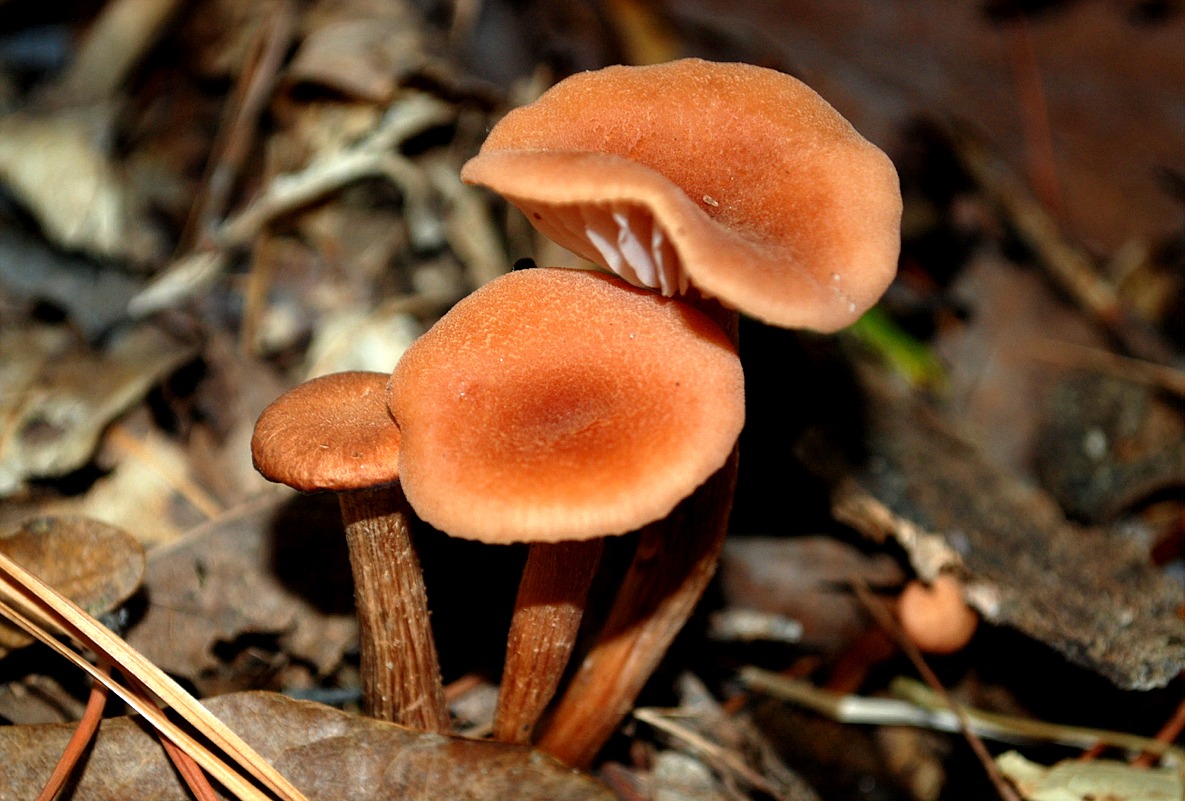
These are a set of mushroom references that helped me when sculpting them. Mushrooms do have a role within the set especially for the player to move from one place to another as a platform.


I did a base mesh in 3DS Max to get an overall decent silhouette of the Mushroom. My first one was based on the red headed mushroom above.

A progression screen capture of  the underside of the mushroom. At first, and attempting to be more efficient with my time, I was challenged by how to create the details underneath the mushroom without relying on my own sculpting.

So I created an Alpha brush in ZBrush that placed the initial image details.


The image on the left, I generated 'noise' for the overall surface of the mushroom, then sculpted in some bumped formation.

Then I sculpted in some of the white spots to complete the overall look of the mushroom head.


My final outcome of my first mushroom which includes the stem of the mushroom, I notice that some mushrooms have additional details around the base of the stem, but decided to keep it simple.


These were my second set of mushrooms to sculpt. I thought to aim towards a more flattop mushroom, thinner in waist and can be used as a platform for the player to jump on. I can bunch these together because of the relative straightness of the stems.


The image on the left, shows underneath of the mushroom and the impact that applying my Alpha brush on the top of the mushroom had on the underside.

The mushroom to the right I sculpted in some lift and formation of the mushroom top, also adding a couple of new brushes that I made to give those details more efficiently.

The mushroom below shows the attempts to detail the stem with its rough surface.


My second mushroom, quite happy with the overall result. Building on my previous techniques and working out that developing the idea had led to a more effective and efficient finish.


My third mushroom has a very simple shape. It resembles a darning bodkin, as can be seen in the right reference image.


I wanted to create a simple looking mushroom to fill the level.

Using my previous techniques I generated some quick details that looks convincing.

My third mushroom the silhouette is just very basic however the overall details  provided a pleasing result to add to the collection of mushrooms so far.


I decided to create fungi for the main purpose as a platform for the player when he is jumping across and up the tree-stump.


I created a disc like shape in 3DS Max as a base mesh then, used the move tool in ZBrush to alter the shape. Then I sculpted and added some alpha brush details to the surface of the fungi, which can then be rotated around to make each side unique and modular.


My fungi result made me pleased with the over all design.
Since I had limited time to spend on these, it had turned out a lot stronger than if I used references to generate the details.