I gathered panoramic pictures of the sky to begin the sky box process.
In the layer channels in Photoshop I was editing the panoramic image by adding my own custom cloud brushes and in the channels themselves R.G.B I was creating different versions which the above image shows how the result of each channel differed from each other. The channels are important because in UDK each channel will have a specific function assigned to it.
Here is where I went to filter > distort > polar coordinate, which creates this fish eye lens.
This is where I was setting up my shaders of my skybox, the skybox texture that I created will be saving texture memory because of the way it has used the channels instead of having them on a separate image.
As you can see, I was starting to create movement with nodes, learning about the nodes functions and how combining them in a specific way and changing their values to get the desired result.
As you can see I have finished setting up the nodes to create movement of the clouds as a material and assigning it to the sphere model.
The images above are the final result after tweaking their scale and size and the rotation speed through the properties.
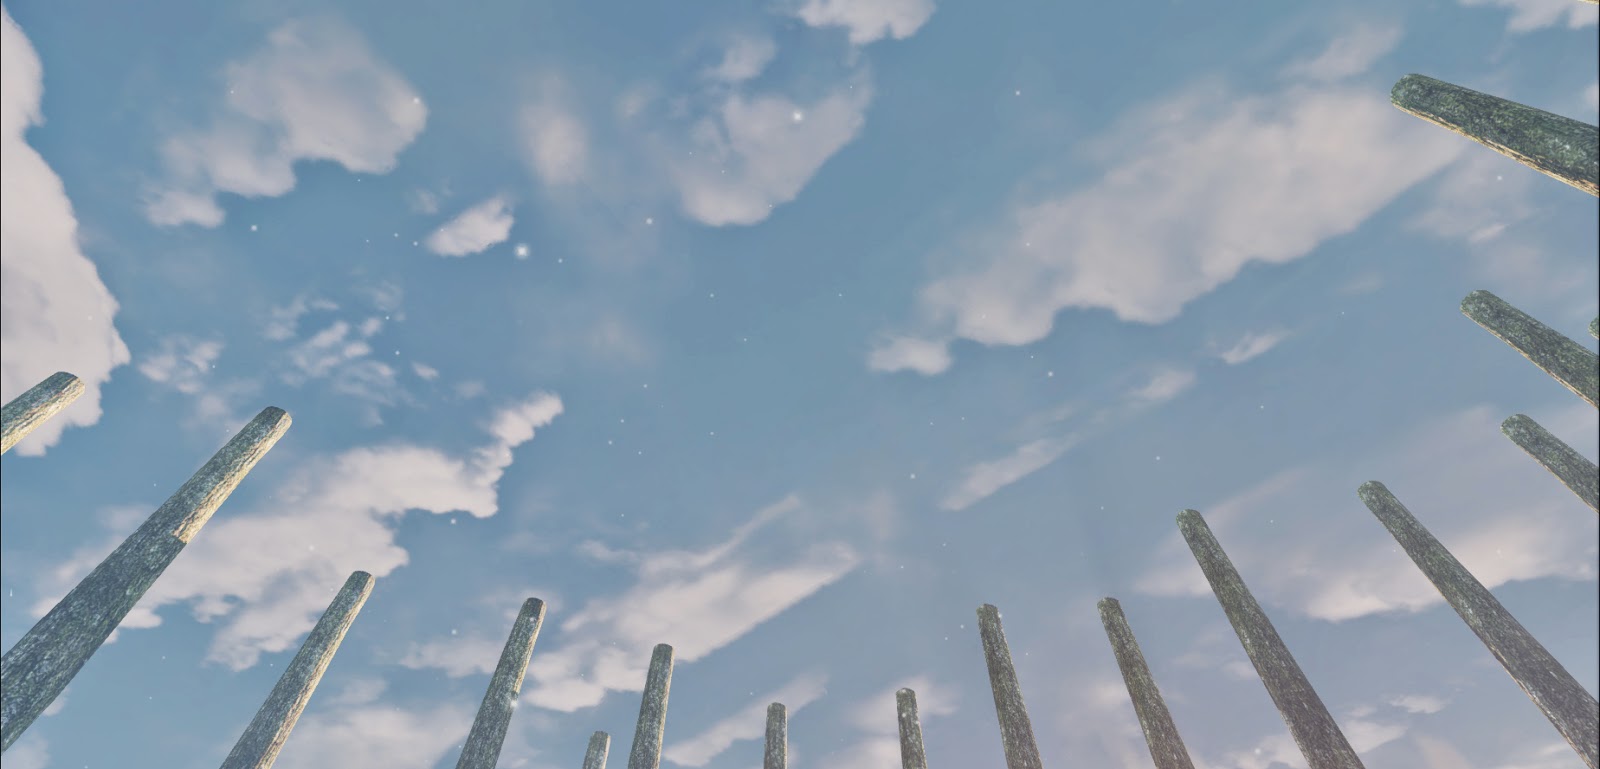
A screen capture of the new skybox in my level. The next task now to create a sun, because light is still coming through but no sun is appearing.
Started to create a window for the sun, as you can see there is a mist of light in the top left, but no actual sun silhouette yet.
Eureka! There is a sun in my level. Still a little tweaking needed of the size, position, it's rays and colour tint, to suit a more subtle early morning rise, but nonetheless a sun in situ.


No comments:
Post a Comment