Wednesday 30 April 2014

FMP - UDK - Final Screen Shots

Few final screenshots of my Final Major Project.
Forest!


Friday 25 April 2014

FMP - UDK - W.I.P Fly-through and updates.


I decided to create a practice fly through of my level to just showcase what I have done so far.


Just a screen shot from the  view as seen from the players perspective, showing the scale of elements in the players view point and the variation of terrain that may present passage or obstacle for movement.


Several screen shots of my level at the players perspective from different angles, I enjoy capturing the players height with the grass and what the player could visibly see between the spaces naturally made by the grass-blades.


Initial screen shots showing the simplicity behind the idea of a Wizards house. It is envisaged that the external aspect of the wizard house will remain true to the natural form of a mushroom, but that the interior would be evidence of the magic held by the Wizard who lives there. This would make the interior a mansion in size.


Wednesday 23 April 2014

FMP - UDK - Level Build Up!

I have started to build my level now, from the previous practice, from which I was gaining an understanding of how to build and develop a level in game engine
.

I have expanded my level size resolution for extra density and then scaled that down to a smaller map for when I will sculpt on the terrain it will have a better density to get much more real depth and detail.


I was closely following my painted concept and on track to keep it as close as possible to it and at this point I made the area where rain accumulates which formed a large shaped puddle around the island where the tree stump sits.


I was still testing my old modelled grass, to see how they visually clumped together from above and when action in game. Due to them being modelled and costing quite an amount of countable tri's, I was worried about the performance significantly dropping to the point that the overall framework would not be as smooth and slow.


Here is where I have started to sculpt in my ground and the player route. The textures you see on the ground are the final terrain textures, unlike the previous practice textures that were used. I have still got a lot of painting and blending to do on the level to put the right ground textures accordingly


I have shaped more of the terrain around the puddle, giving some height to the edge and thinking about how the ground would look near the water; which would  be earth and muddy with this  transcending into the grass the further away from the water the bank goes.


This is where I started to place my alpha grass of the players route, starting with smaller grass enabling the player to have a greater view of his surroundings. I did this by using one of the UDK editing tools; I painted on the meshes on the ground allowing variation of size, scale and combining several other differences of grass bunches I had made to be achieved.


Continuing placing my grass around the level and other foliage I made, as you can see in the background. I wanted them to be much denser so, it would give a closed off feel to the player and the overall surroundings.


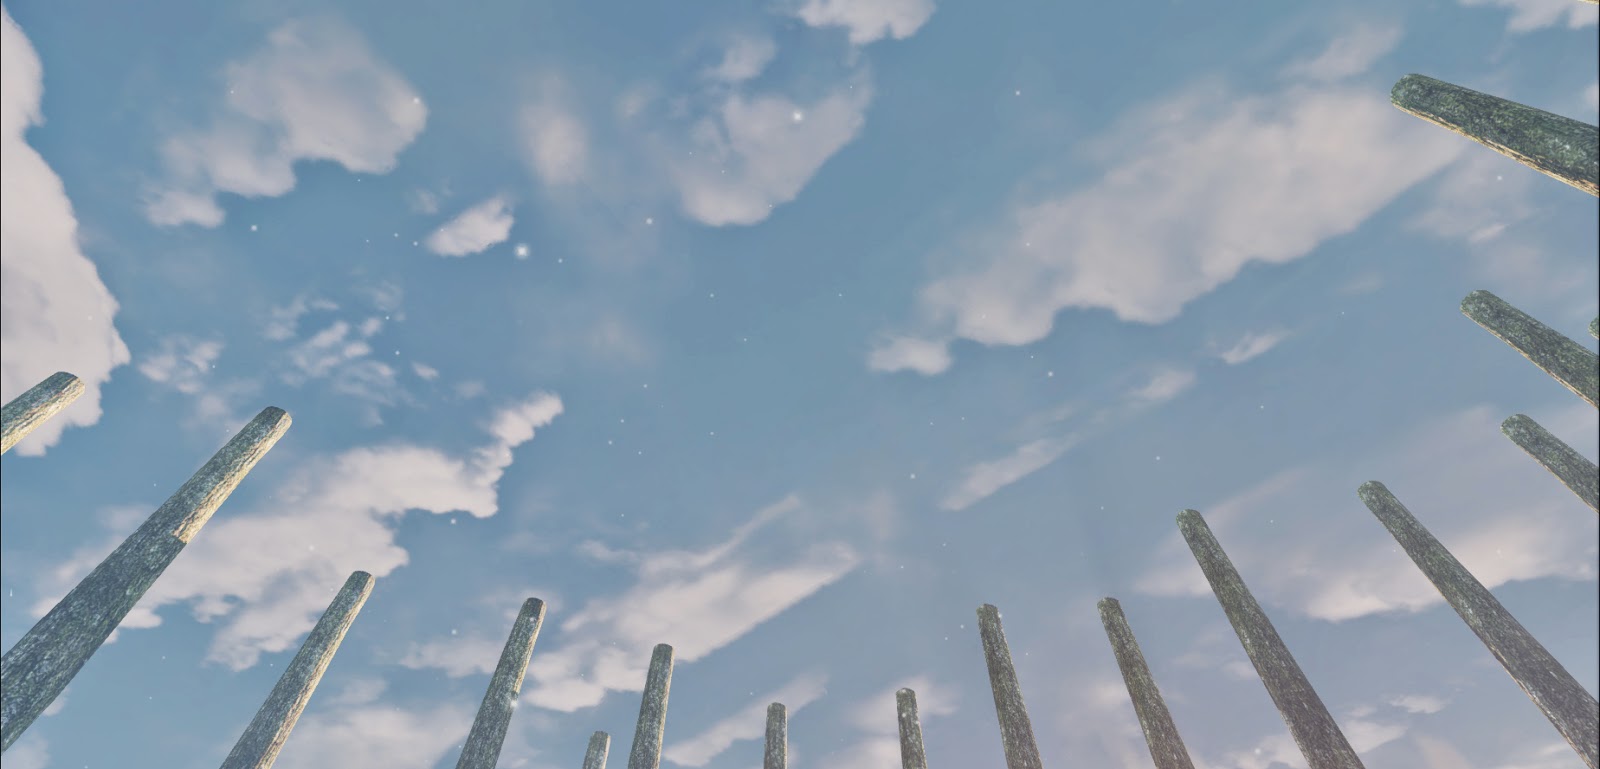
The skybox implemented, the clouds came out great and I was editing / tweaking in the options it's colour, rotation and cloud speed.


More spammed grass around other locations of the landscape.


Just combining and placing about more of the larger foliage like nettles, dock leaves, ferns and more.


Ground texturing in this area were looking more complete and so I decided to add more models to my level such as leaves, dandelion flowers and mushrooms.


Here is where I was placing my fungi on my tree stump to act as a platform stairs for the player to jump across and up, upon to the top of the stump.

I was adding some small filler assets such as the branch sticks and I was sizing down my rocks to be used as small stones.

As the player would gaze up into the sky it would be covered with a leafy canopy.


A birds eye view of the level the scene below shows the main playing area with the wizards house slightly offset. It is clear to see the pathways the player could take to get to the destination. I still have to finish rest of the outer boarder of the level, adding larger foliage, grass, rocks and finish sculpting the terrain and vertex painting.

Friday 18 April 2014

FMP - UDK - Effects and Sound; Pollen, Rain, Thunder and Lightning.

This is where I was learning and practising how to represent a misty atmosphere which is often found on  flat country land.
 
This is one of the ways I was attempting to create the illusion of fog.
 
 
On the Fog Volume Spherical Density, properties. I was experimenting with the density of the fog and other properties to get the desired result I need for my level.
 
With this type of Fog it generated onto a Plane surface as shown above. Then within the properties I was able to expand it into a misty cloud.


I decided to create some flashes of lightning and then added sound that captured thunder and rain.
This is where I was doing it within the Unreal Kismet and the Matinee.


In the Matinee, on the timeline, I created Key frames that I adjusted to turn on and off to replicate the animation of lightning flashes.


Here is where I was setting up my actions that would play and loop in the level, the sound has not been created and added yet to the sequence of events.

 
Once the animation was finished I then imported a thunder and rain sound file into UDK. I created a sound_wave_node and then connected it into the Sound_Cue_Editor.

 
As you can see in this image the blue spherical radius that is closer to the centre, the more dominant the sound and the less dominant it is closer to the boundaries.  
 

Here is an attempt of a animation of adding puddles-splashes, when the rain makes contact with the ground surface. I decided to not keep the splashes in the end.

 
Now it was time to learn and create some rain. I decided to create a single rain drop in Photoshop because I would then be able to create an animation that would make multiple rain drops.

 
This was in a different view mode wire mode. It is faint but you can see the red markers which would be rain drops falling down.


I also created pollen floating within the atmosphere which also had the effect of creating a feeling of humidity-the feeling you get when the air is warm and damp.

Sunday 13 April 2014

FMP - UDK - Sky Box

It was time to create my skybox for my level. The default UDK one, quite suited my level with the early morning pre-set. The early morning pre-set would be suitable if I could emulate the default skybox but adapt better cloud formations.


First off, I created a sphere to which I sliced it in half and stretched it out slightly. After I unwrapped it in the UV modifier, I rendered out the UV and started texturing it in Photoshop.


I gathered panoramic pictures of the sky to begin the sky box process.


In the layer channels in Photoshop I was editing the panoramic image by adding my own custom cloud brushes and in the channels themselves R.G.B I was creating different versions which the above image shows how the result of each channel differed from each other. The channels are important because in UDK each channel will have a specific function assigned to it.


Here is where I went to filter > distort > polar coordinate, which creates this fish eye lens.


This is where I was setting up my shaders of my skybox,  the skybox texture that I created will  be  saving texture memory because of the way it has used the channels instead of having them on a separate image.

As you can see, I was starting to create movement with nodes, learning about the nodes functions and how combining them in a specific way and changing their values to get the desired result.


As you can see I have finished setting up the nodes to create movement of the clouds as a material and assigning it to the sphere model.


The images above are the final result after tweaking their scale and size and the rotation speed through the properties.


A screen capture of the new skybox in my level. The next task now to create a sun, because light is still coming through but no sun is appearing.


Started to create a window for the sun, as you can see there is a mist of light in the top left, but no actual sun silhouette yet.


Eureka! There is a sun in my level. Still a little tweaking needed of the size, position,  it's rays and colour tint, to suit a more subtle early morning rise, but nonetheless a sun in situ.


These images here are just some fun experimenting with the size of the sun, it looks like it is engulfing the forest and having that morning dew feel to it.