Saturday 29 March 2014

FMP - Texturing. Alphas


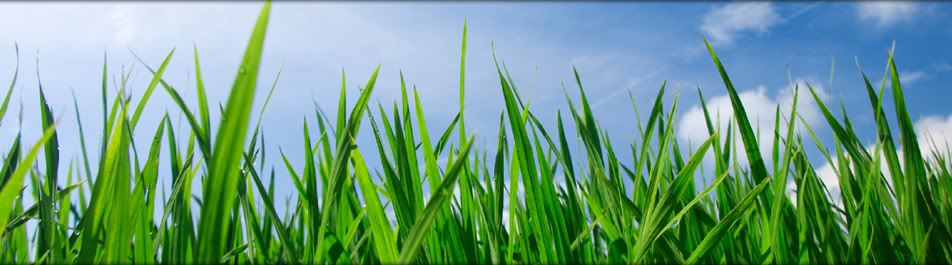
Alphas, probably one of the most fun  aspects of this process, was initially difficult to get my head around. The grass, especially due to my previous attempt of making them as a 3D model,  were very costly when modelling them around the landscape. So I have opted to complete it in planes, and check how they look.


I made four separate leaves with subtle changes to them and organised them in four individual bunches.


Dock Leaves are always around grassy and green areas, especially if nettles are about, they are the healers of their sting! I decided to model the stem and the branch, to give more thickness and thus to show much more authenticity when considering the scale of the player and his surroundings.


I thought the dock leaf turned out very acceptable and learnt new ways of how to present alphas by adding geometry to areas of importance.


I decided to add some nettles to contrast the dock leaves.


Two branches of nettle leaves, so that I can use them as modular pieces and create further features.


Few other variations of Nettles, creating my own look of how nettles may grow in the different arrangements.


The familiar dandelion I decided to model the stem as a 'family' grouping rather then have one lone stem. I was going to add a variation of buds and the Taraxacum  as seen from the image below.


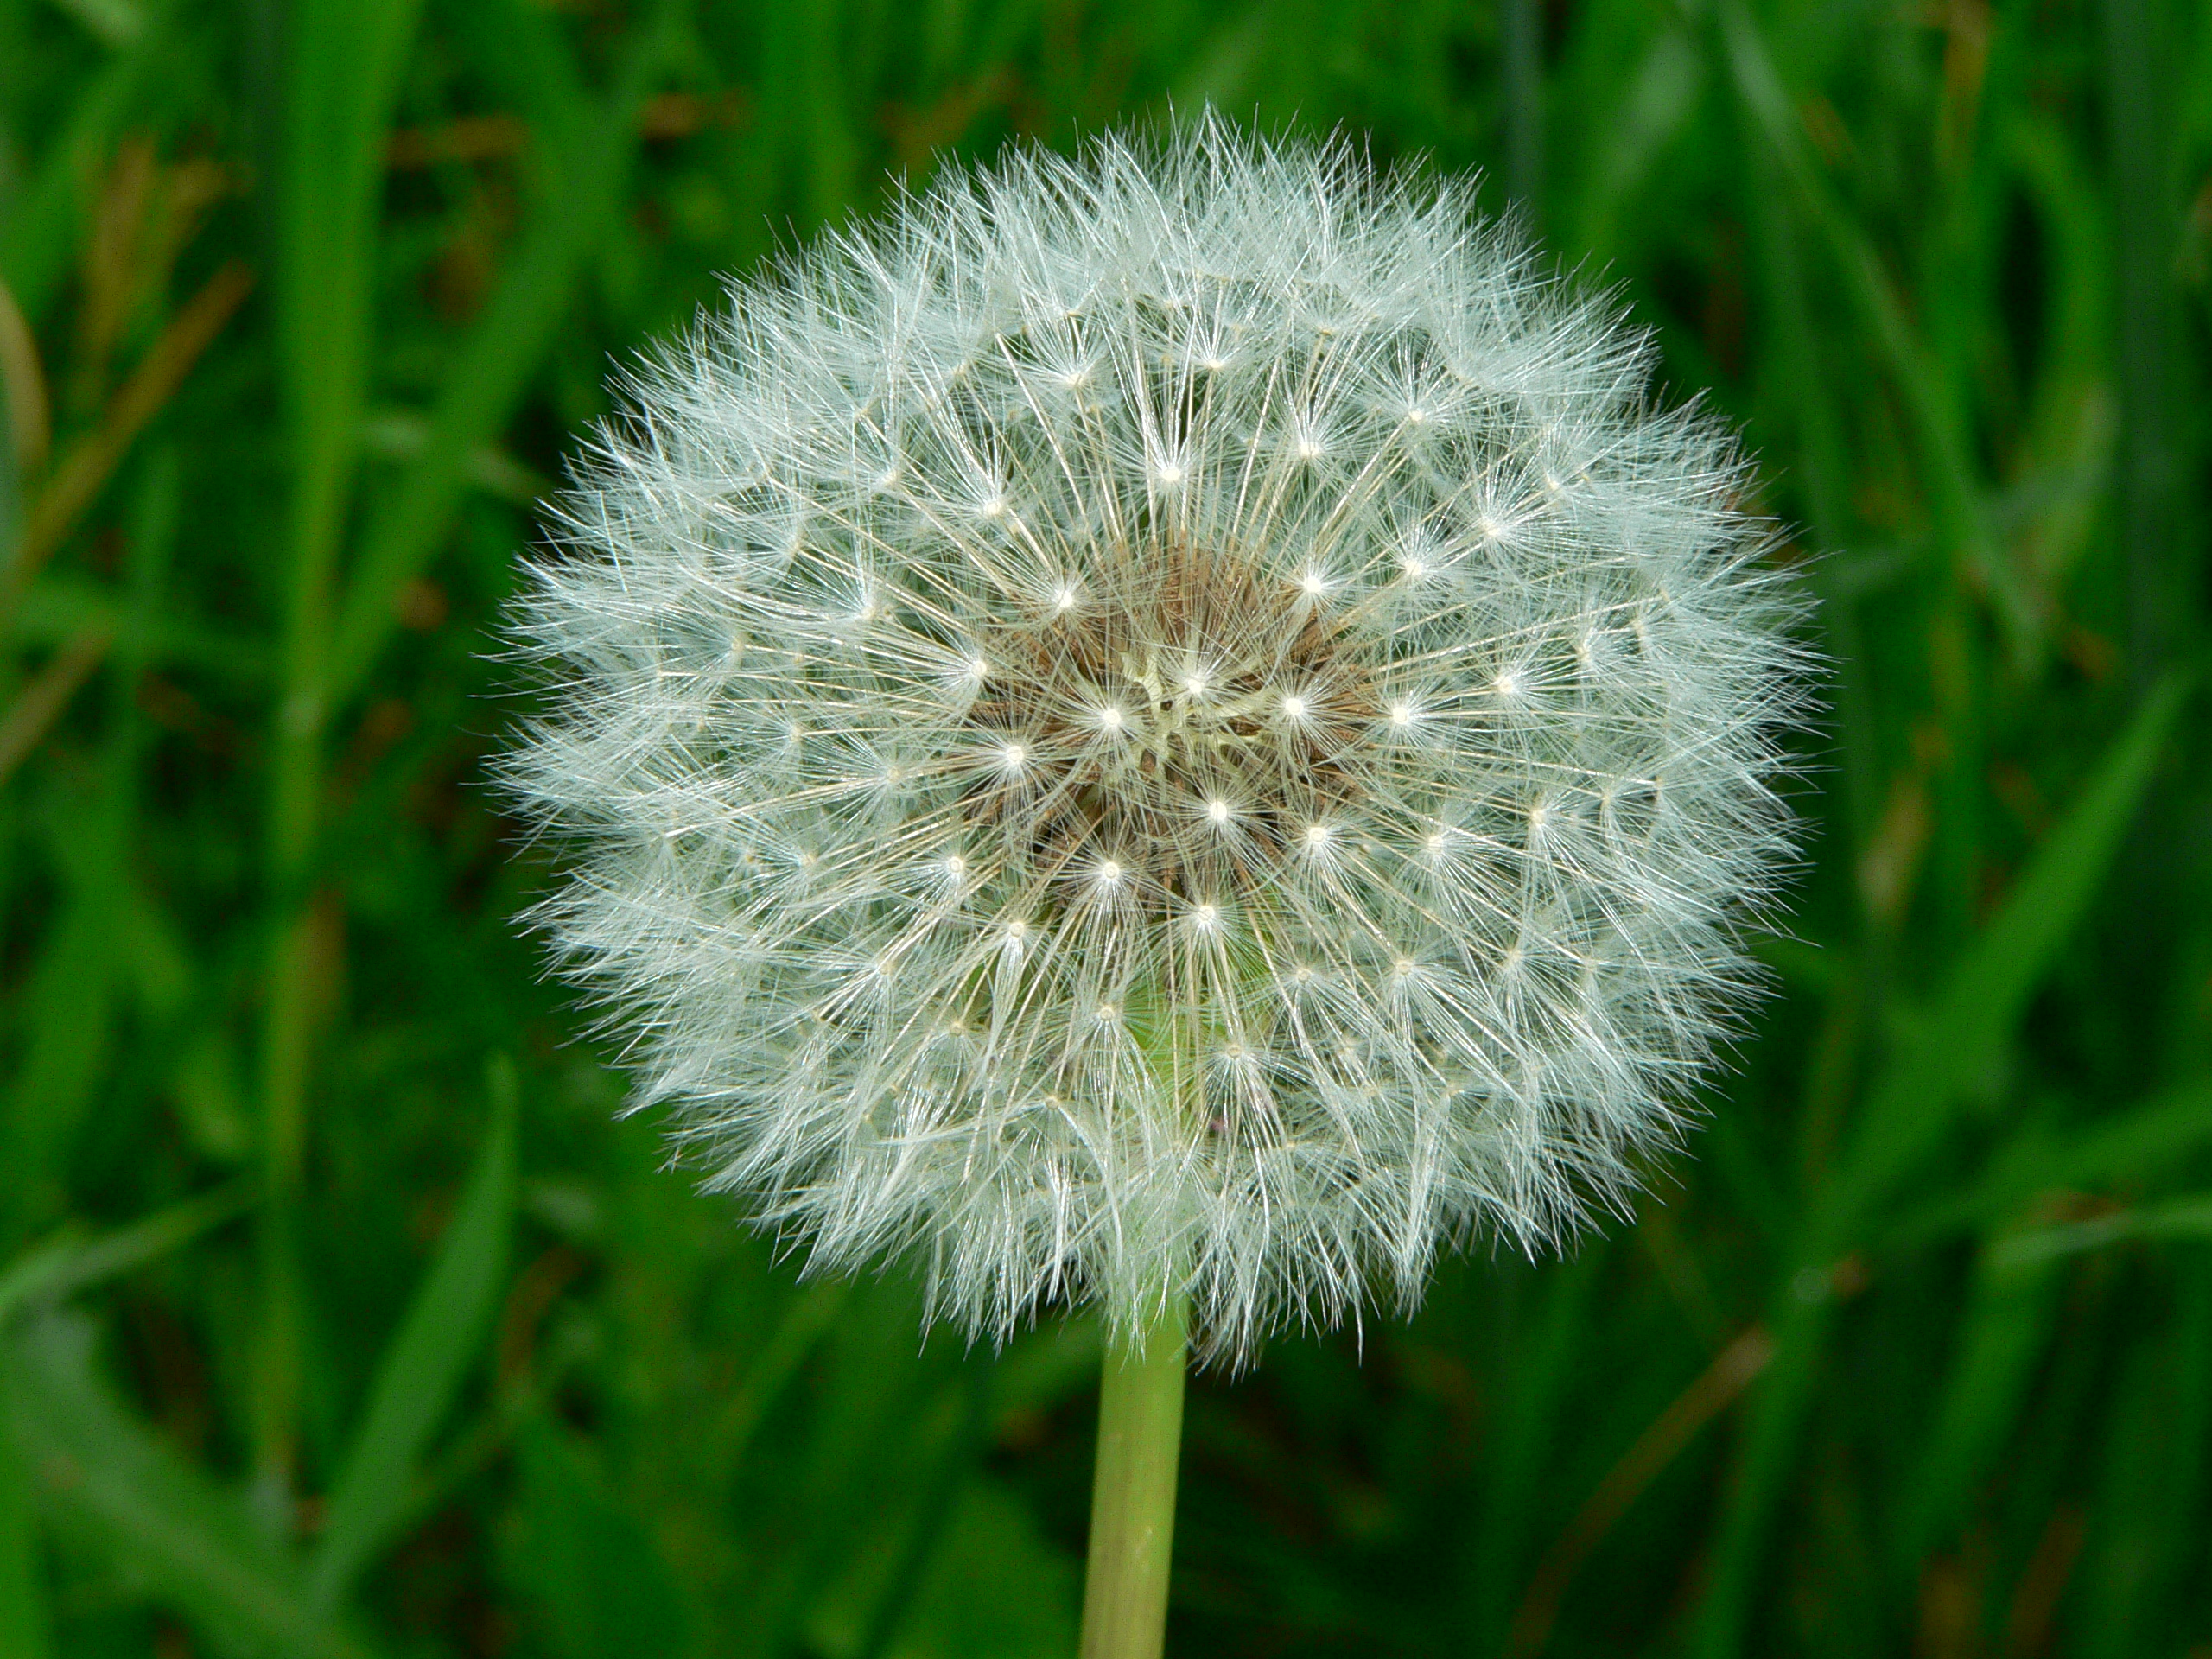
Just demonstrating one of the packages of the dandelion, giving a variation of size and curvature in the stem and flower head, with each one having it own unique visual display.


Consideration was given to the fact that the limited light within the wooded area may mean some foliage maybe lacking in photosynthesis


I decided to create some big leaves for my branches. Just three different versions and colour to mix and match them about.

Monday 24 March 2014

FMP - Texturing. The Tree's!

I had really poor baking errors throughout all my assets, which left  AO and Cavity result was disappointing. 


However I am finally on texturing something and I decided to texture my Tree Stump first. From using some little information from the AO and Cavity, I decided to improvise and add a soft blend of textures to help in the loss of the bakes.

I had also then generated a new normal map, that I overlay on top of my sculpted normal map, to give more information.


My finished Tree Stump texture
Time constraints meant that I had to pace the texturing phase which although restrictive, I thought it turned out pretty well.


Same problem with the AO and Cavity though I improvised adding texturing to the mix. I added a bark texture with dirt/ grunge, to the right areas of the tree log then afterwards applied moss on top.


The Final outcome of the Tree Log, overall it is what I had in mind from the start and so I am pleased.


The four tree branches that I am using as modular pieces. Just a base coat of a tile-able bark texture, will add moss on top to keep things consistent on my models.

Final Tree Branches


My Outer Tree, just a simple long Tree Trunk that tapers at the top. Just  a preview texture with some AO and Cavity maps  that were not exactly what I wanted, but gave a basic idea.


Outer Tree texture, from how the bakes looked on the left with some applied colour, to adding some textures to the mix, as seen on the right, looks much stronger!

Saturday 22 March 2014

FMP - Texturing. Rocks!

My rocks textures.
 Since I had problems with my baking again >.> I just  textured the rocks using the normal process and then generated extra normal maps information and overlay them on top of my previous normal map texture.So this would enhance the overall finish.

512x512 texture size.

I decided to then apply a mossy texture on my rocks which turned out quite acceptable for giving the impression of shadowy forest areas that has been unused for some time. I kept the original texture of the rocks to peep through the areas of where it would be dry and would have less mossy texture on it.

512x512 texture size.

Thursday 20 March 2014

FMP - Tree log and Stones


 At first I was thinking to have big rocks as you can see on the images left and right. However small rocks/ stones would be same in account to those big rocks if the player was at normal height.

Something similar to these size and type of stones, shape and detail.

I will make a bunch of stones and perhaps one or two enormous rocks which they can be used as barriers for the level.

I can also exploit the rocks and stones from when I am sculpting, to sculpt differently the sides and angles of the stones/ rocks that can be used multiply times when I will be rotating/ scaling them in UDK, to which 1 stone can make out to look like 4 different stones.


Here are some of my stones/rocks finished.
 I wanted their shape, edges to be more rounded and subtle, with similar detail to one another.


I really enjoyed sculpting rocks and it was fun testing out Zbrush other brushes for hard surface sculpting. There are loads of techniques of shaping and detailing the them but I just kinder created my own way from what I have been learning in Zbrush through this project. 

Decimated rocks in Max, ready for retypo

A Tree log, sculpted from a model cylinder in 3D max. I inserted an inside area, so I can have the player start from there.


I am going to achieve this kind of  bark surface when sculpting my model, very dry and old with alot of cracks and dents.


My final tree log,  very much enjoyed sculpting this log, learn't a few different techniques to get a different result from my previous tree sculpts when doing tree barks. Ideally this would also be covered with moss.

Monday 17 March 2014

FMP- Tree and Branches

 I am deciding what outer trees to model for my level.

 I prefer to keep it simple but effective, because the important organic assets would be in the focus within the level.


So I am going to aim for creating those tall straight trees to give a enormous scope of the player and the terrain.


I decided to create a simple base mesh in Max and import it into Zbrush to sculpt from.

 However, a friend suggested a better way which is to use the Zspheres in Zbrush to create your tree and the branches.

I remember using Zspeheres before and it was good to familiarize myself with it again.


An screen capture to demonstrate using Zsphere and how I was creating the branches.
So I was just pulling across and adding spheres to the mesh.


 A variation of branches I created from the result, I didn't spend to long on them, about 10 minutes generation different variation.


I wanted a four branches to give more variation.


My branches with bark detail

 I was using Zremesh on my branches to try to get a reasonable tri count, that would not deform the silhouette of the branch. 


However it was not possible and when it was too low, it would remove some branches and the roundness of the branch would be blocky and squared. I can retypo this manually which would give me better control but I realize a better approach


So I created some simple straight branches, which is much lower in cost of the tri-count and then I can now create a couple of small attachable branches.


Here is the Outer_Tree that will surrounding the perimeter of the forest, combining and attaching the branches, to really give some diverse modular set-up. Then I will add alpha tree leaves to those branches.